LOOKING FOR
SOMETHING?
Top Searched
Frequently asked questions from CADian are provided in our FAQ Board.
Check your answers quickly.
FAQ
Support
As evidenced by over 30 years of development history, trust-worthy Korean CAD, CADian!

|
Notices
·
2023.12.12
Let's explore the 'EXTEND' and 'TRIM' Command in CADian.
|
|---|
|
'EXTEND' command 1. First, launch the CAD program and draw horizontal and vertical lines that do not intersect. 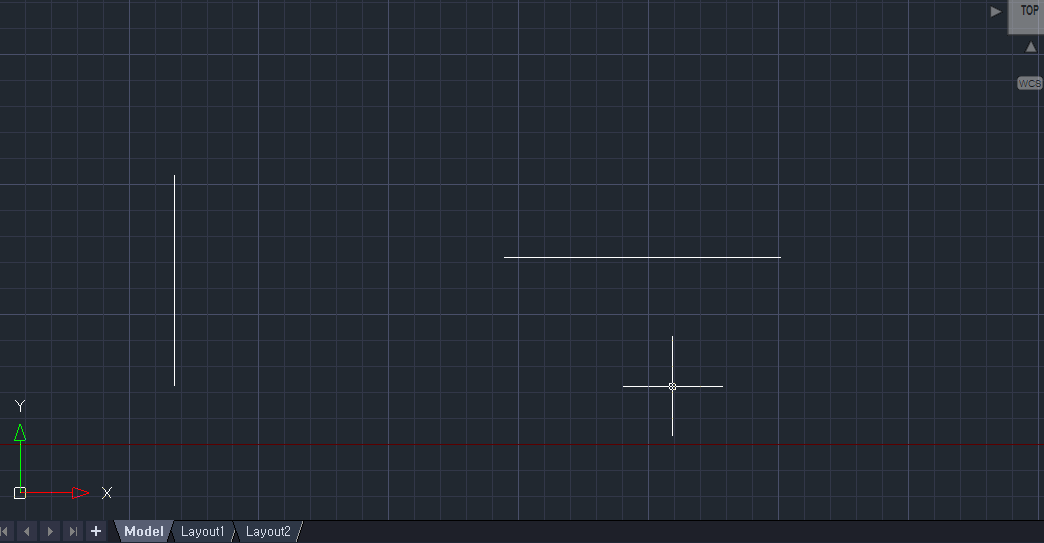 2. Enter the command 'EXTEND' in the command input window and execute it (shortcut: EX) 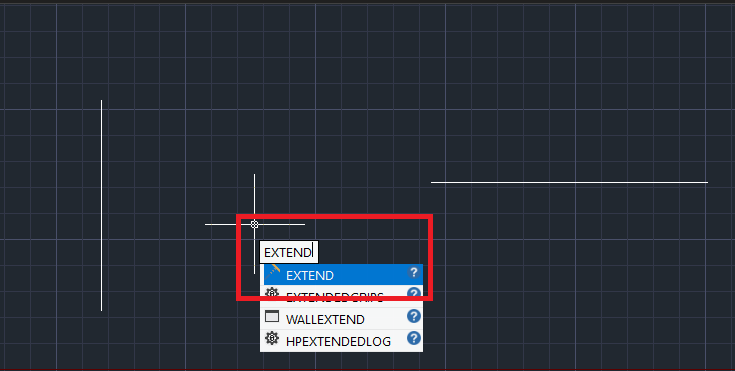 3. In the select boundary object prompt, click on the horizontal line with the mouse to select it. 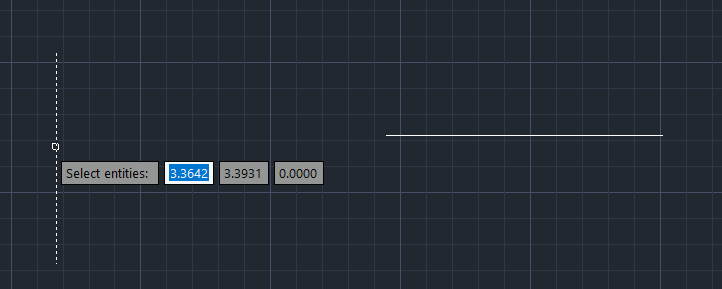 4. Next, in the select entity to extend to prompt, choose the vertical line that the horizontal line will extend to by clicking on it with the mouse. 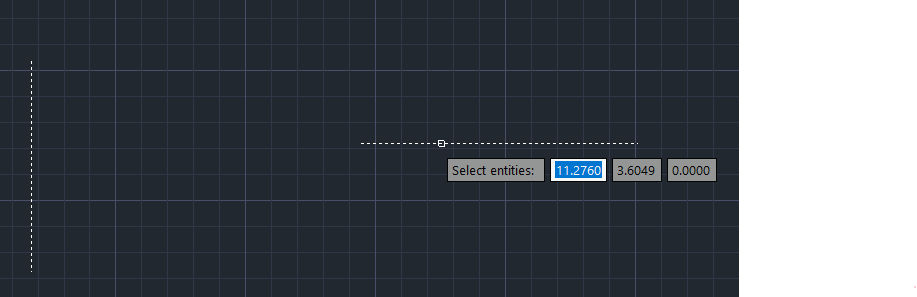 5. You will observe that the horizontal line extends to meet the vertical boundary line, as shown below. 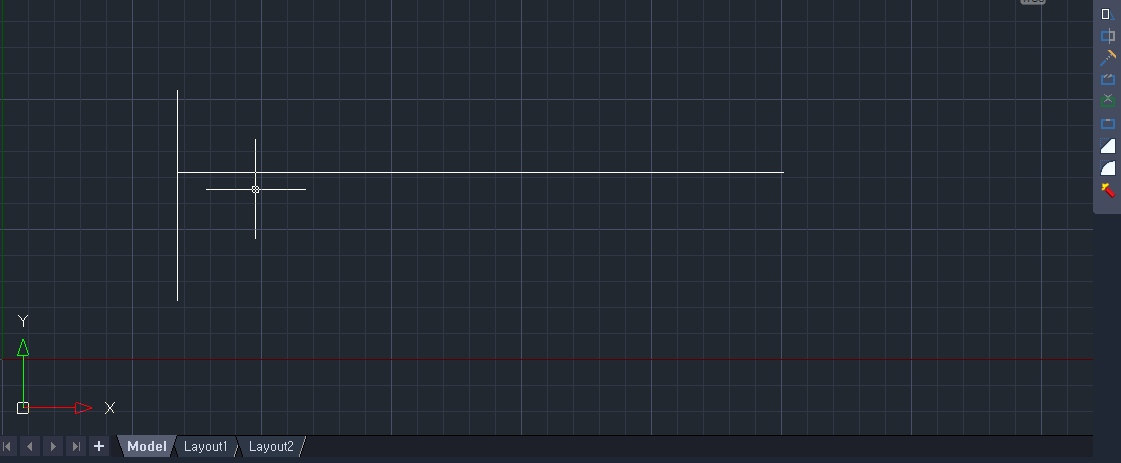 This sequence of steps ensures the proper extension of the lines, and you can confirm that the horizontal line seamlessly extends to the vertical boundary line. 'TRIM' Command 1. Prepare the vertical and horizontal lines that were used in the previous exercise, which are in contact with each other. Let's attempt to delete the bottom portion of the vertical line using the horizontal line as a reference. 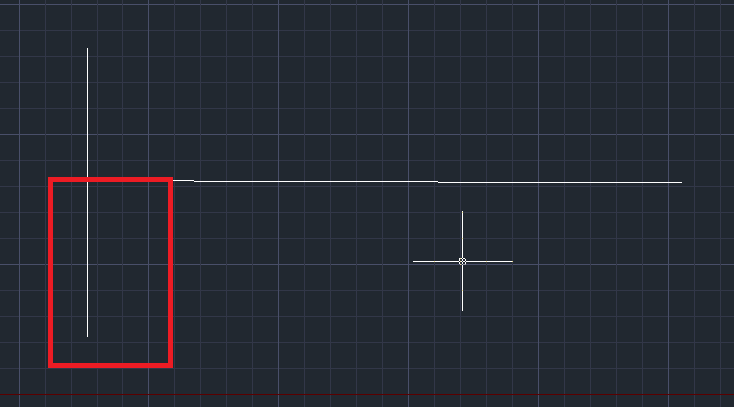 2. Enter the 'TRIM' command in the command input window and execute it. 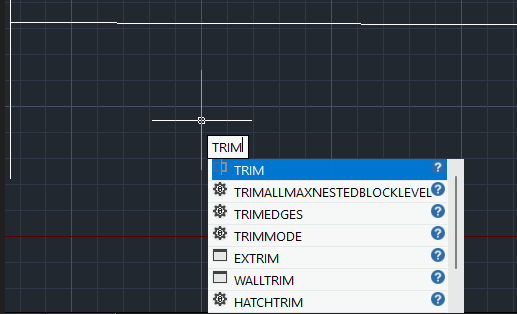 3. In the prompt to select cutting edges for AutoCAD trim, use the mouse to select the horizontal line, which serves as the reference line, and press the spacebar. 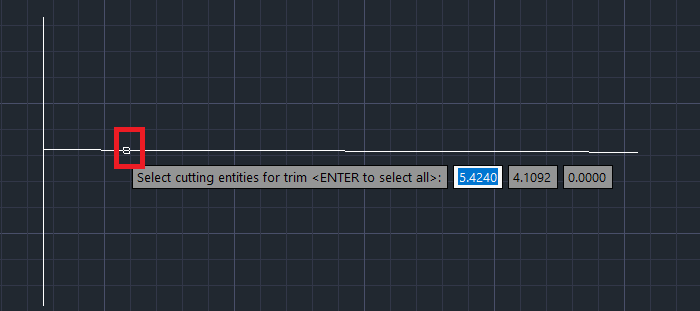 4. Confirm that the selected horizontal line appears as a dashed line, indicating it is the trimming reference. 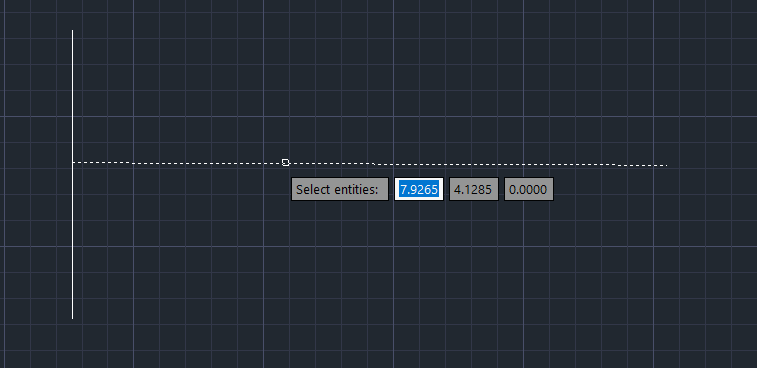 5. Next, click to select the bottom portion of the vertical line that you want to trim. 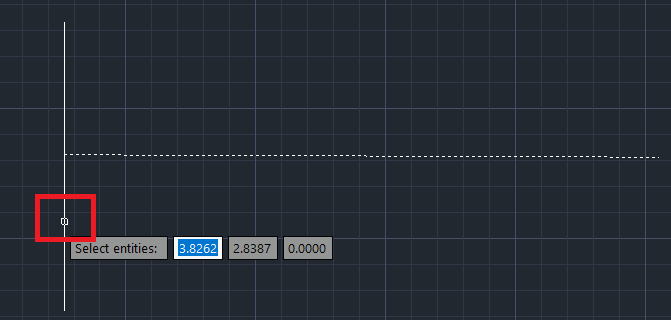 6. Once you observe that the bottom part of the vertical line has been deleted, press the spacebar to complete that command. 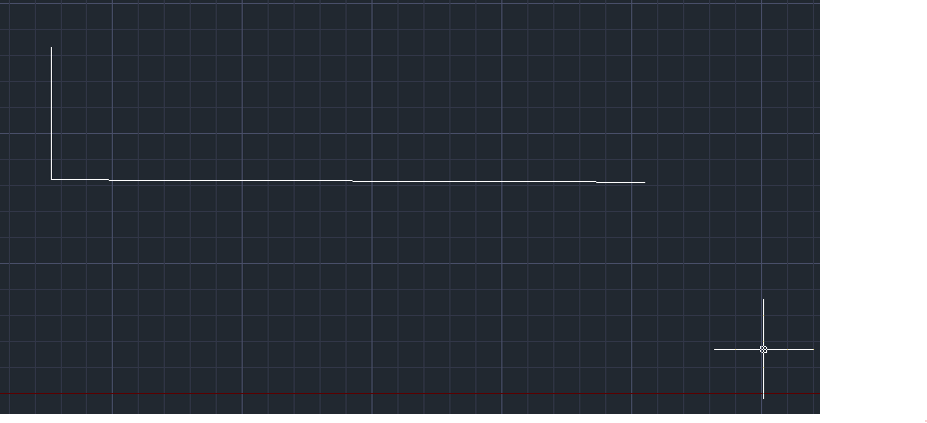 The 'TRIM' command has been successfully executed, and the bottom portion of the vertical line has been trimmed as intended. |


Business Name : Wizcore, Inc.
Address : 1009, 115, Gasan digital 2-ro, Geumcheon-gu, Seoul, Republic of Korea (08505)
CEO : Seung Hoon Park Business Registration Number : 105-81-74484
Sales : partner@cadian.com
Support : help@cadian.com
Tel : +82 2-323-0286
Fax : +82 2-2107-3286
Address : 1009, 115, Gasan digital 2-ro, Geumcheon-gu, Seoul, Republic of Korea (08505)
CEO : Seung Hoon Park Business Registration Number : 105-81-74484
Sales : partner@cadian.com
Support : help@cadian.com
Tel : +82 2-323-0286
Fax : +82 2-2107-3286
Copyrightⓒ Wizcore, Inc. All Rights Reserved.